The Best Peanut Brittle Ever | Recipe
ZippLife | December 15, 2023
Is there anything better than a fresh batch of light and crispy peanut brittle to share with your loved ones during the holidays?
Maybe not. However an extra batch of fresh peanut brittle that specifically isn't for sharing might come in as a close second best. 😉
Silly Story Time.
Fun fact about me: I love peanut butter. So by default, I'm pretty particular about my peanut brittle. I'm also what other people like to call a "picky eater". I used to pack a PB sandwich (no jelly, no crusts!) for lunch almost everyday for the first 8 years of my adult corporate life. It's not that I'm obsessive about it being the best thing ever, or that I only eat peanut butter for a cause. I just know that if I'm hungry, or in a situation where I need to eat and the offered cuisine is a bit too off-road for my simple little palate, that I can survive anything - as long as there's peanut butter available.
Case in point: a few years ago I had an awesome opportunity where my employer wanted to send me to Europe for two weeks to collaborate and finalize EOY budgeting with my Germany-based colleagues. It was my first time going to Germany, it was in December, and I was traveling solo, so I knew packing would be one of my biggest challenges. How was I going to manage with the International laws on suitcase sizes and weight limits, especially when I couldn't ahem "borrow" the spare room in my husband's suitcase, like usual? Well, I'm happy to report I managed mostly just fine; it was quite a trip (with a lot of good stories, so I'll save for another day) but the reason I bring this up is this: I could have packed my four pairs of shoes in my giant suitcase, however, I gave up one pair so I had enough room in my bag for: a fresh jar of peter pan peanut butter. Yes, I realize how silly that sounds. Everyone who hears this story always says "you know there's peanut butter in Germany, right?" And I say to them what I'll say here - Yes, and you're missing the point - that one jar of peanut butter could theoretically sustain me for days, in a pinch. I fully admit to being a picky eater, and I didn't want to starve in a country known for sausage and sauerkraut.
Funnily enough I finished most of the jar during my trip. There were 2 separate occasions during my trip where I was stuck working late at the offices and the walkable restaurants around me were closed for the night (so my emergency PB did come in handy!!). Peanuts and peanut butter for the win!


Bonus random photos visiting one of the Christmas markets, enjoying some
delicious Gluhwein across Schlossplatz Stuttgart, in Stuttgart, Germany.
Before We Begin: Some Light Prep Work
Before we get into it, I have some tips to help you create the perfect peanut brittle. They may seem superfluous at first, but I promise these tips will make the process (and the end product) so much better. Plus you'll probably end up with less of a mess in your kitchen (no promise on that though 🫣).
For this peanut brittle, you'll need a large cookie sheet pan (at the very end, you'll pour the finished candy goo onto this cookie sheet when you're done). To make life easier, grease this cookie sheet (and grease it well!) - do this before you turn on the stovetop. I prefer to use real butter for this step.
The next tip I have regarding this cookie sheet - just before you turn on the stovetop - preheat your oven to a low temp (i.e. 200 degrees F). When the gooey brittle is ***almost done (like 275 degrees-ish, I like to put this cookie sheet in the warmed oven for 2-5 minutes. That way, it allows the gooey mix to spread out better on a warm pan.
Next tip: a candy thermometer is your friend here. If you have one, use it. That being said, if you don't have a candy thermometer on hand, it's not impossible to follow this recipe and have success. It just makes the process riskier, and requires a few extra 'testing' steps along the way. *If you're not sure how to approach without a candy thermometer, I'm sure a quick Google search will serve you better than I can.
One last silly tip - You'll use your last 3 ingredients only at the very end of the recipe. However, you should still prep and measure out these items in advance, because I promise you will not want to be dealing with measuring out your vanilla extract, butter and baking soda when it's go time. (The candy is at high risk for burning if it's gets too high above 300 degrees). Now then, let's make some peanut brittle!

Peanut Brittle | Full Recipe
Ingredients
- 1 cup white granulated sugar
- 1/2 cup light corn syrup
- 1/4 cup water
- 1/4 teaspoon of salt
- 1 cup raw blanched peanuts
------------------------------------
- 1 teaspoon vanilla extract
- 1 teaspoon fresh baking soda
- 1 tablespoon butter (softened/room temperature)
Instructions
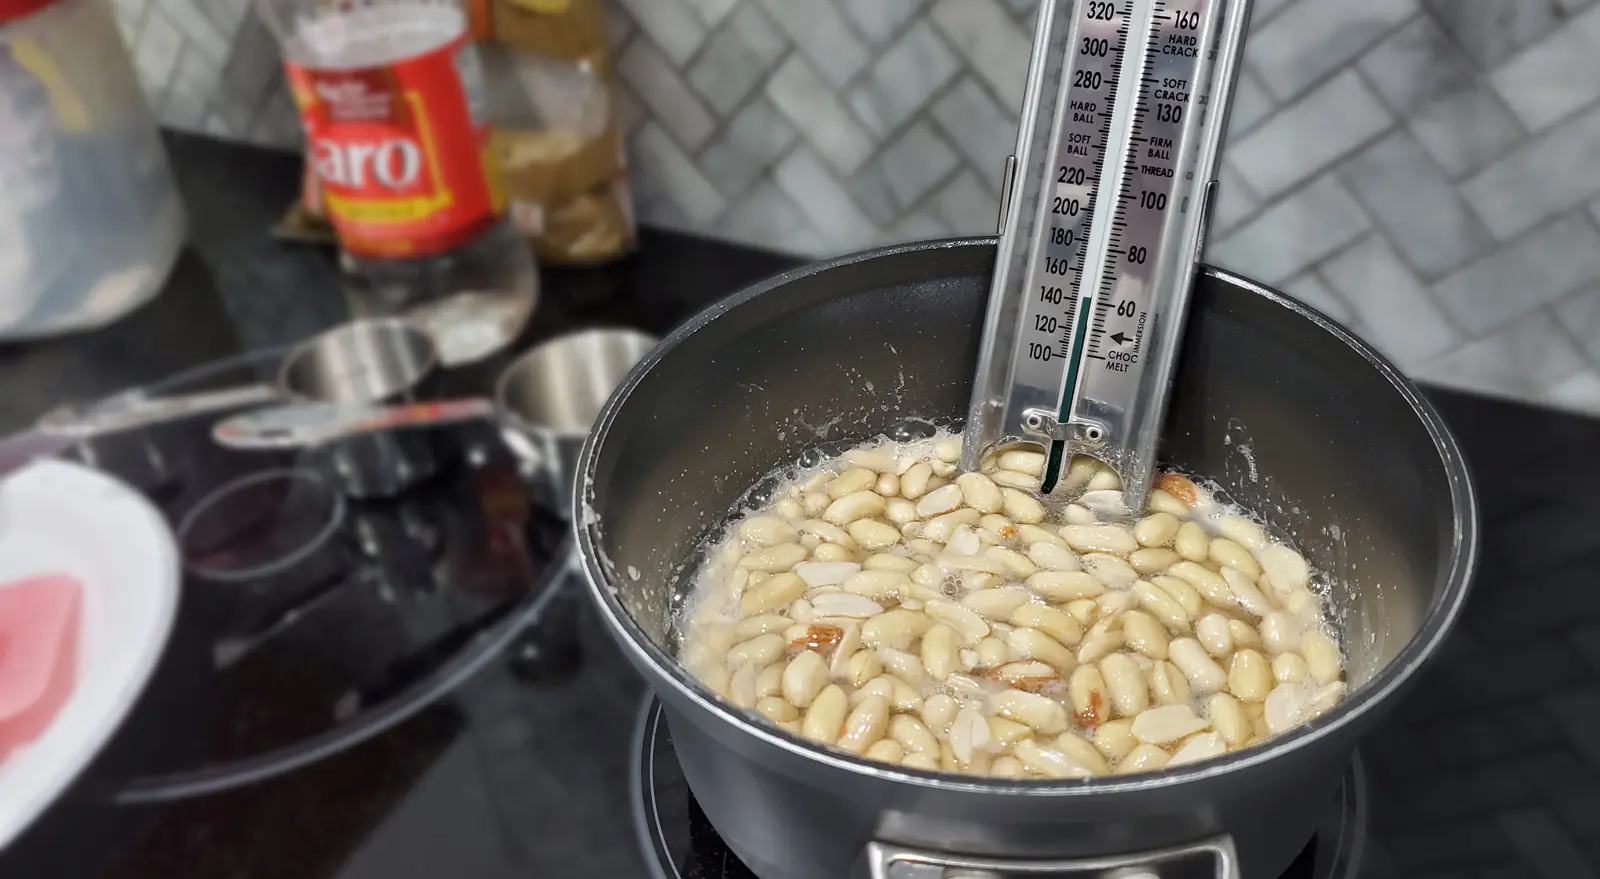
- Add the first 4 ingredients to a small saucepan,
- Stir over low-medium heat until the sugar is dissolved.
- Add raw peanuts to the pan, and continue to stir. If candy starts to boil/bubble too angrily, reduce heat slightly.
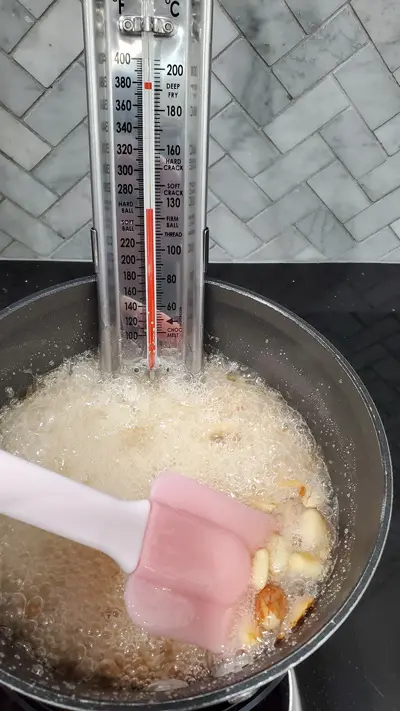
- At around 260 degrees, you should notice the peanuts starting to have some roasted toasty colors [see pic 2, below] - it's important to keep stirring at this point to avoid letting any peanuts get too much heat.
- Heat gradually, stirring frequently, until candy thermometer reads 300 degrees F
- As soon as the candy reaches 300 degrees (hard crack threshold), remove the pan from heat and add the vanilla extract and butter to the mixture.
- Stir in the vanilla and butter until melted/blended. Then add the baking soda and continue to stir.
- You should notice a change in the color and sheen of the candy at this point.
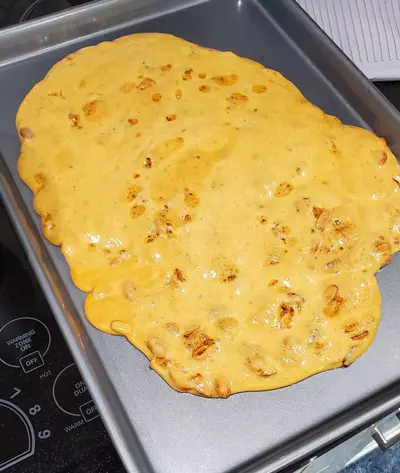
- Remove the cookie sheet from the oven and pour the candy goo onto the cookie sheet. **Don't use your spatula to spread it out - instead pick up the cooke sheet (with oven mits!) and tilt/rock the pan back and forth and side to side slowly, to help the goo spread out thinner.
- Let the cookie sheet and brittle cool to room temperature. I like to stick the whole pan in the fridge for 15 minutes once the tray is cool enough.
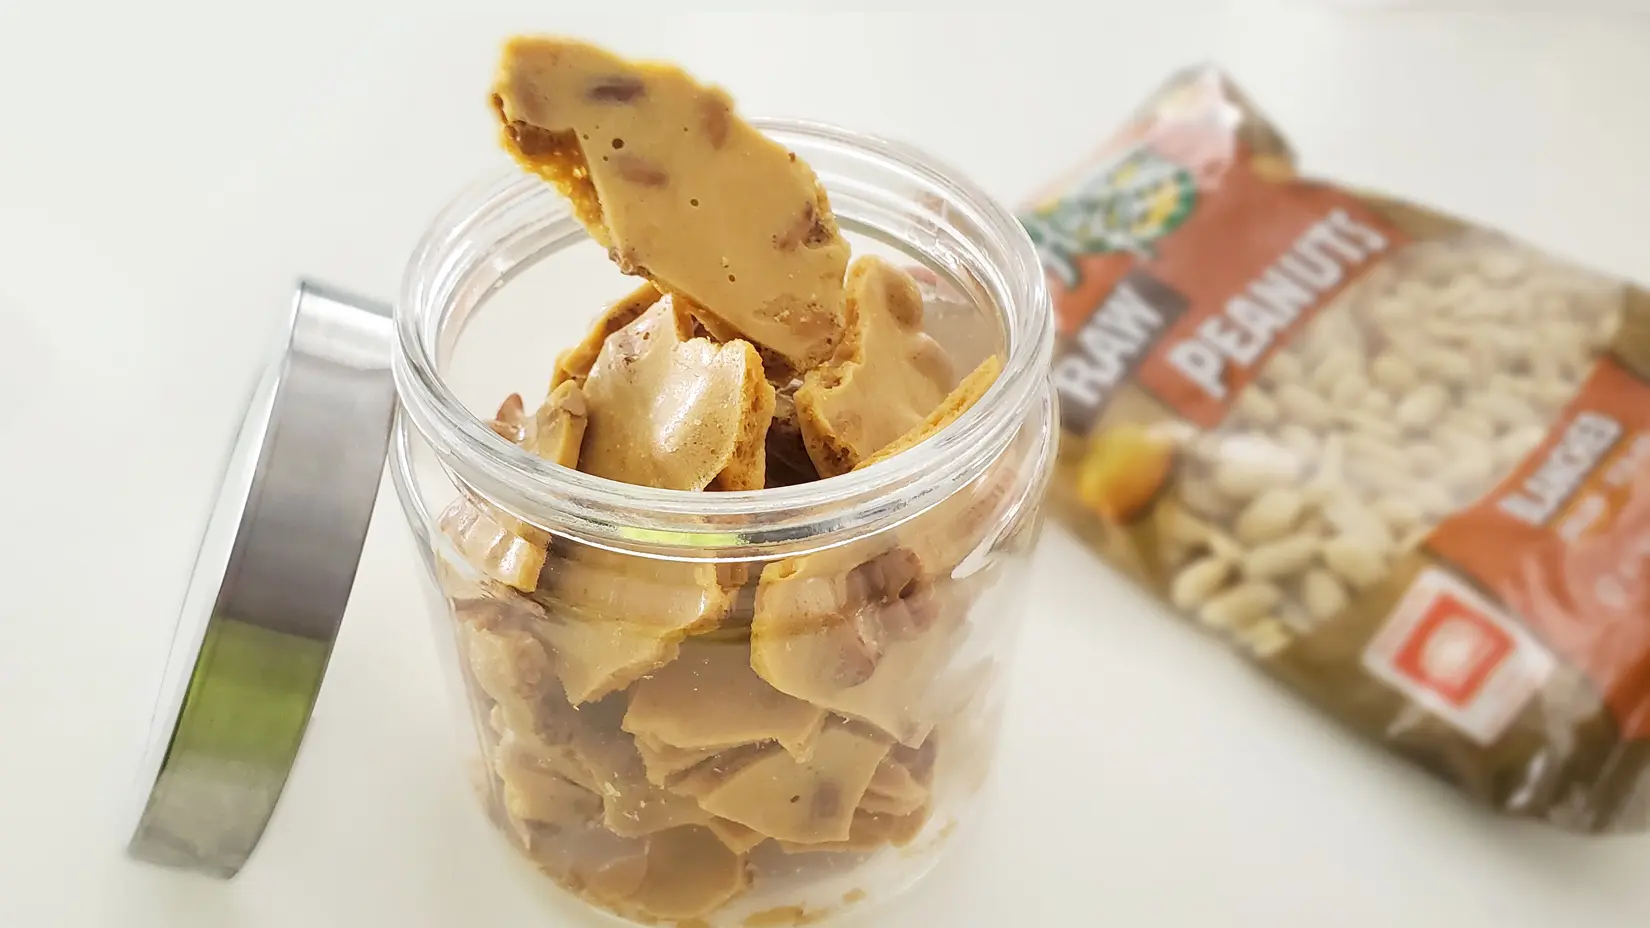
- Remove tray from fridge (or countertop) and set it down gently but abruptly on a folded towel on your countertop. Note: the folded towel is to protect your counters from being damaged! If you have stone or quartz countertops, I recommend using a less delicate surface for this step. You can also gently flex the tray back and forth to help get started with breaking up the brittle. Enjoy!!
Good luck with the recipe and happy Baking!! I should probably warn you now, that if you make this brittle to share with friends and family this holiday, be prepared to make many MANY more batches in your lifetime. 🥰
If you have any questions or need anything clarified in the instructions, please feel free to leave a comment so I can fix!


No Comments Yet